Music Production:
Bustin’ Walls is W4RM3CH4N1C’s first release for 2021.
Having its roots in EDM, the track itself starts in familiar enjoyable territory for W4R. A soft vocal lead-in lends a relaxed atmosphere and floats the listener in, accompanied by a hypnotic beat.
The synths round out the sound and maintain head-nodding bounce. The chorus kicks in the way you’d expect any new addiction to strike you.
This track is fun to listen to, would be the welcome company to a great weekend, good times with good friends, and on your favourite playlist.
Animation:
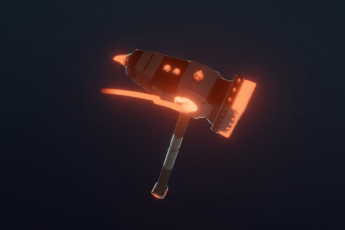
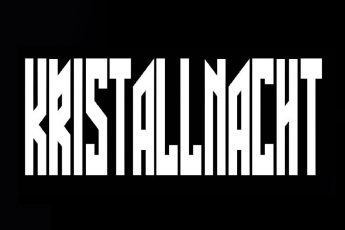
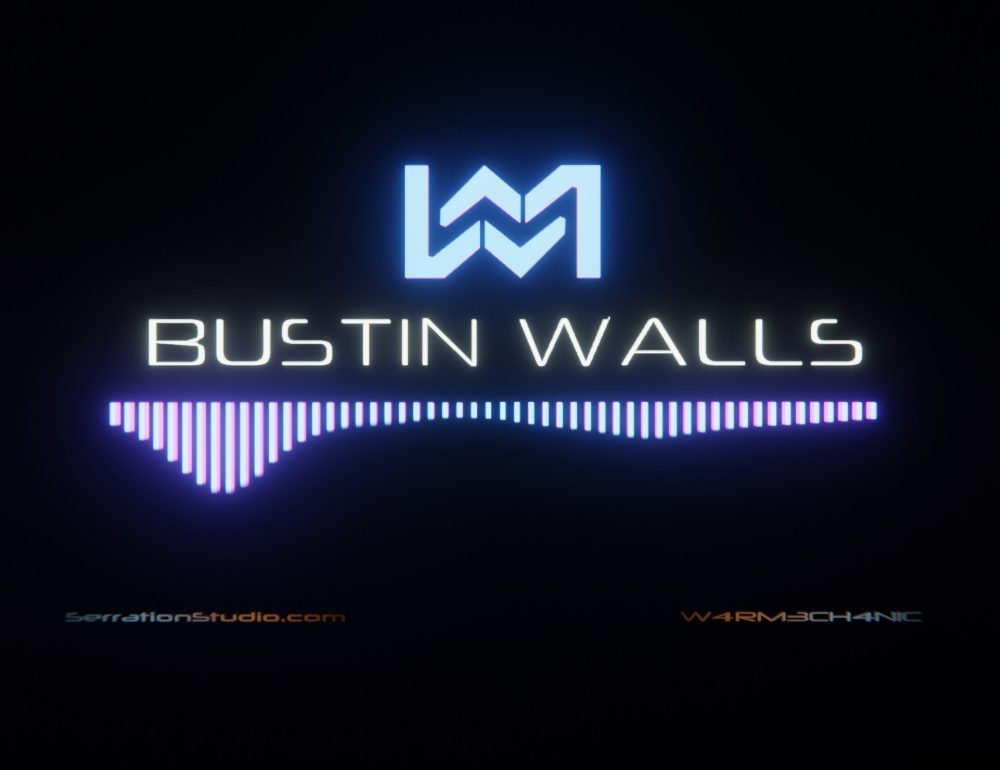
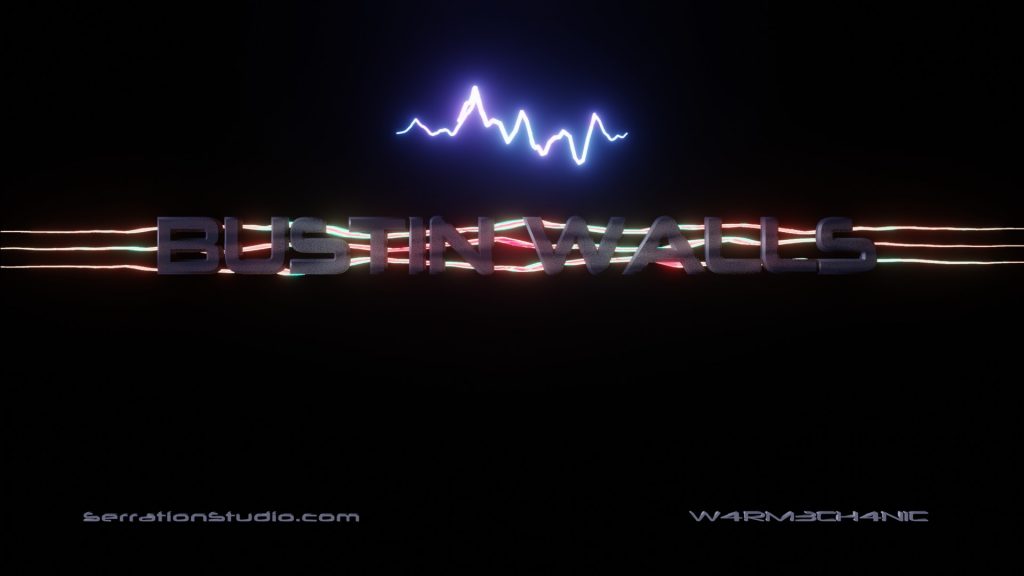
The first step was in the creation of the great retro logo in place on top of the action. With things like this, the beauty lies in simplicity. Sharp, professional lines will give it instant recognisability.
Many iterations of the logo were designed (fig.1) before settling on the final one (fig.2)
The remit behind the logo was clean lines and a slick feel. A glossy easy glass texture was added and this stage was complete.
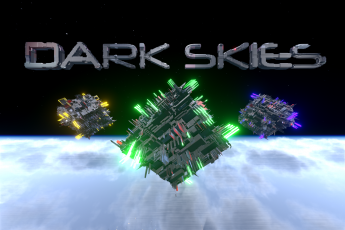
Setting intrigue is an important part of a visualizer, as you need to keep the audience engaged not only with the track but also the dynamic elements.
This is the fun part.
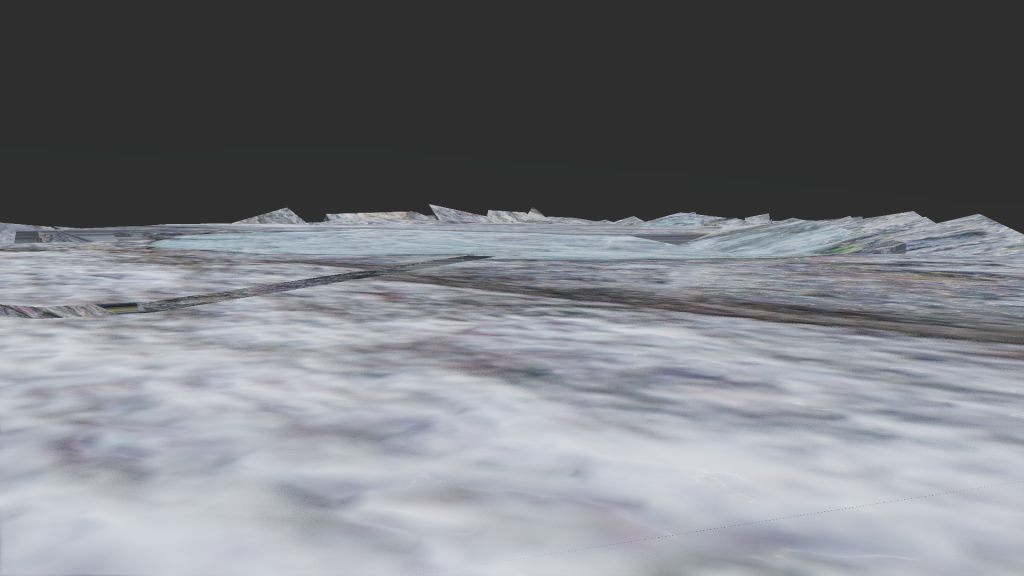
A back wall was set up, once again using PBR textures (fig.3)
The logo was then placed into the scene, and a lightning animation was added. This gave the whole scene some great extra lighting effects and meant the action wasn’t entirely reliant on the probe lights, and the visualizer itself.
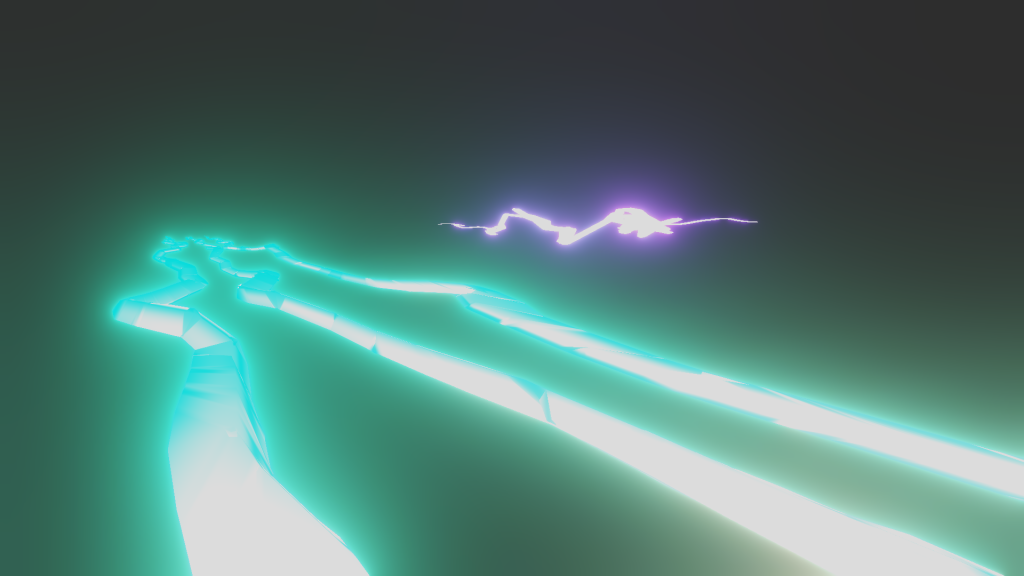
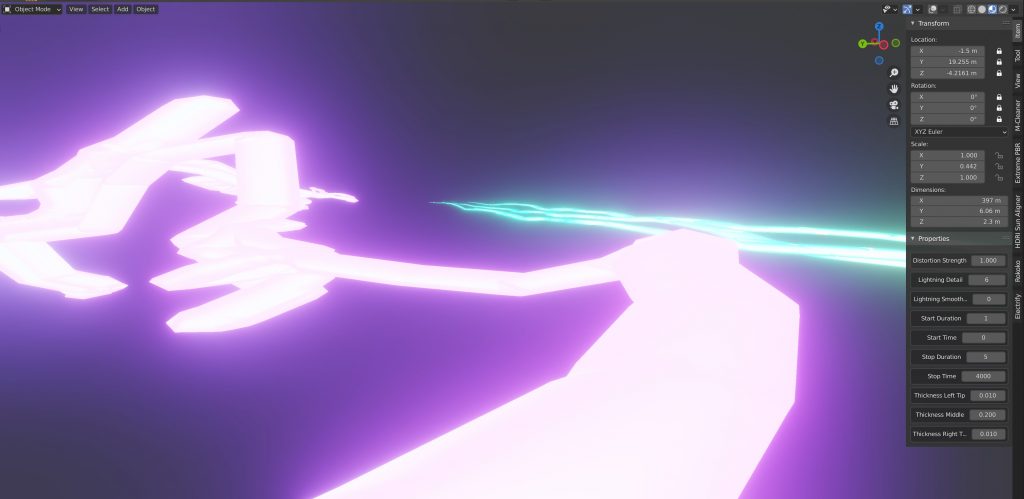
The title of the track was added into the scene as well as the titles, which was then set up in front of the lightning setup to complete the look.
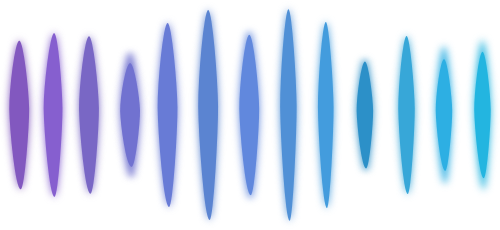
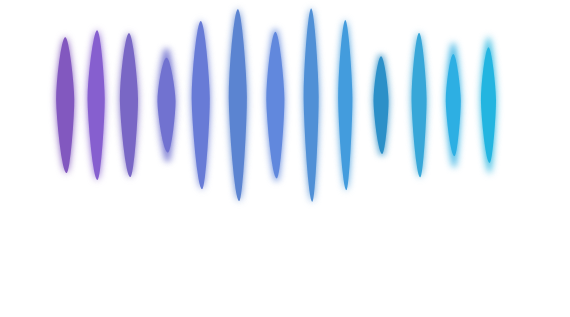
The next step was to add the visualiser. To make things more interesting, the visualiser was programmed to pulse in time with the Music, and bloom during the Chorus (fig. 4).
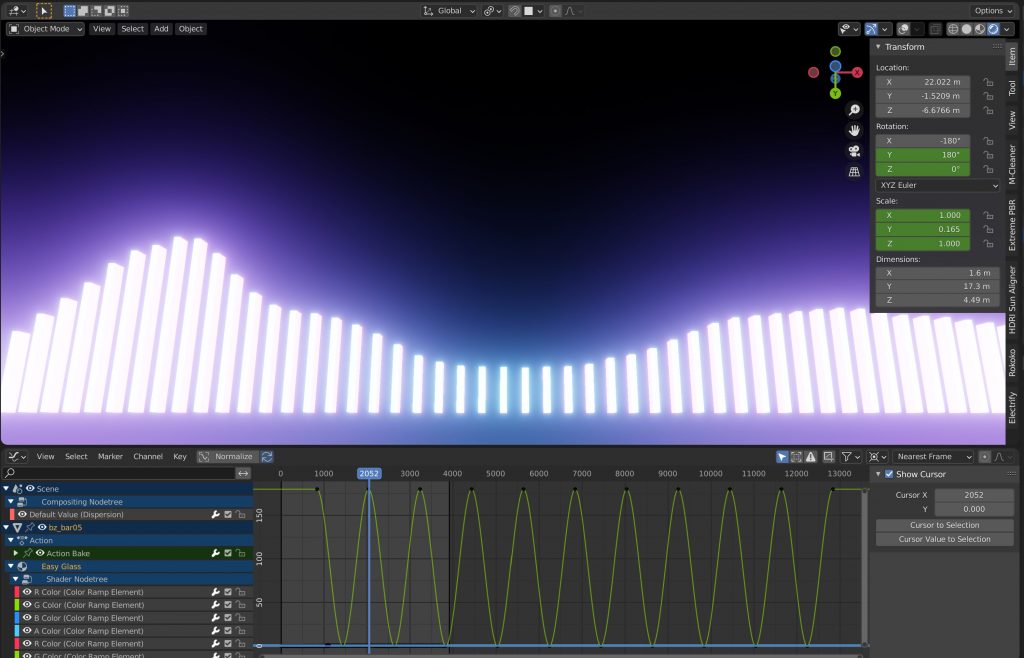
Individual bars were created in series as part of the visualiser then copied the required number of times. As is required with a visualiser in blender, the audio was then baked into the F-curves (fig.5) to provide the animation and move along with the music as it should.
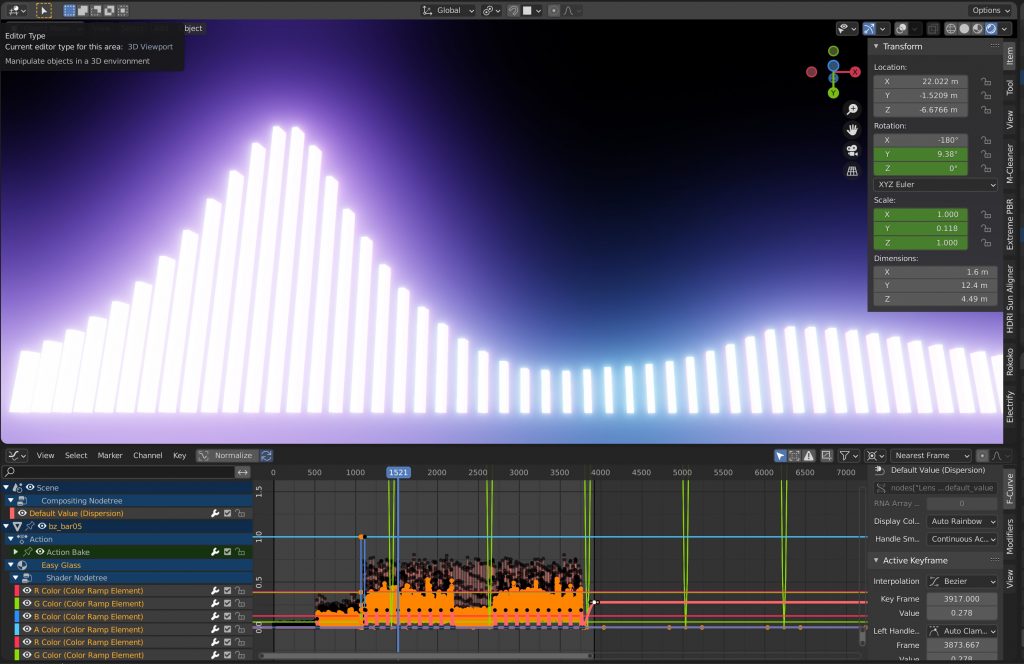
The final touch was to add an emission shader, with a colour ramp node.
This throws out some real eye candy to complement the Neon bars, and make the video pop.
We hope you enjoy this track and reading about the process by which the visualiser is created.
We look forward to taking you through other tracks in the near future.